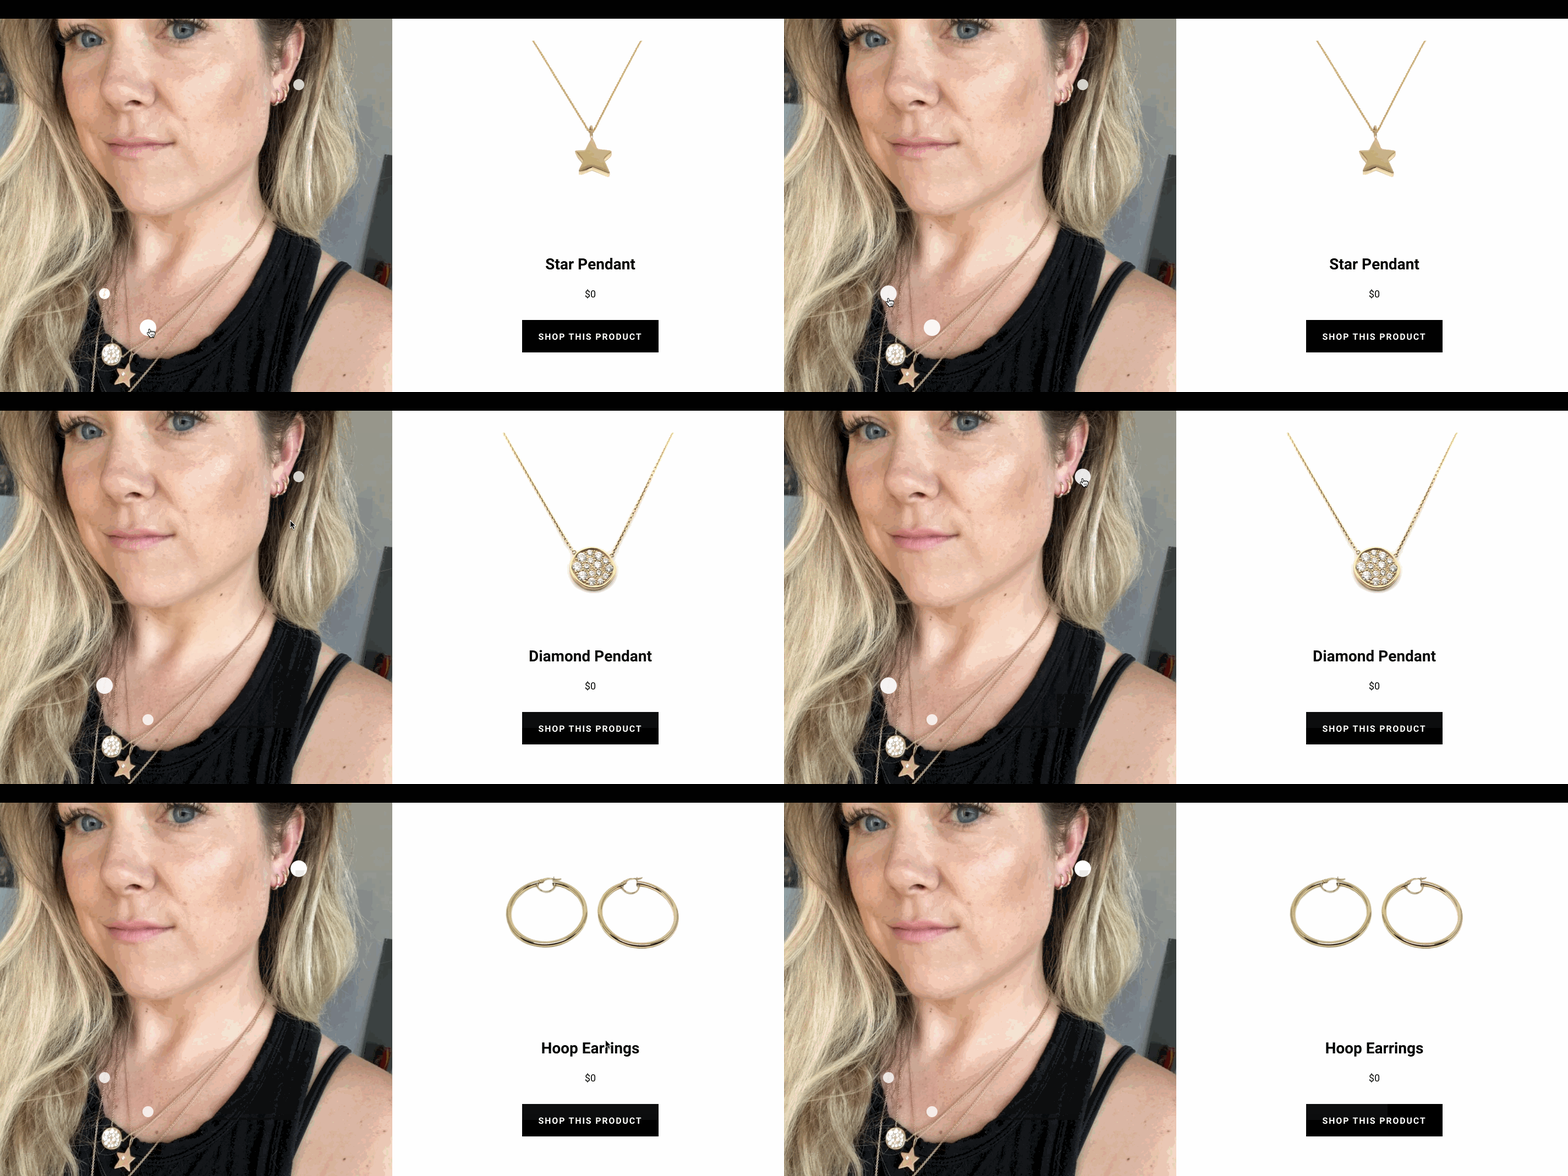
"Shop the look" with Shopify sections and jQuery
With Shopify we're always looking for ways to showcase products. One great way to have photos of people wearing the products in their everyday lives or photoshoots with models in complete outfits.
In this tutorial we're going to go through simple way to create a Shop the Look interaction that can also be updated by the merchant.

The goal is to place dots on the image that are associated with a product.
The Schema
Below is the schema we use for this project. You'll notice that in the settings we have a largeImage, this will be the image the the dots will be overlaid onto. Then we have blocks. Each block will be for a product. Each product has 3 pieces of data associated with it; the actual product, a horizontal value, and vertical value.
The horizontal and vertical values will determine where the dot will land on the page. We've set their types to range sliders so the merchant will be able to slide back and for to set the dot.
The final thing to notice is that we set presets at the bottom. This is so the section will show up on the homepage and can be dynamic.
⚠️Caveat: because of the javascript, you can only add this section once to any given page. So you can also just make this a static section on other pages.
{% schema %}
  {
    "name": "Multi Products",
    "settings": [
      {
        "id": "largeImage",
        "type": "image_picker",
        "label": "Large Image"
      }
    ],
    "blocks": [
      {
        "type": "products",
        "name": "Products",
        "settings": [
          {
            "type": "product",
            "id": "block_product",
            "label": "Product"
          },
          {
            "type": "range",
            "id": "horizontal",
            "min": 0,
            "max": 100,
            "step": 1,
            "unit": "%",
            "label": "Horizontal Position",
            "default": 50
          },
          {
            "type": "range",
            "id": "vertical",
            "min": 0,
            "max": 100,
            "step": 1,
            "unit": "%",
            "label": "Vertical Position",
            "default": 50
          }
        ]
      }
    ],
    "presets": [{
      "name": "Multi Products",
      "category": "product"
    }]
  }
{% endschema %}
The HTML
The HTML for this is actually quite small. Within the section tags, we have the .image-container div that contains bothe the large-image-product and the product-container. In the large-image-products we display the image, and we also loop through the blocks and create the dots. The dots will be display absolute within the parent and we set to styles for top and left inline using the block values vertical and horizontal. Also note that we're using percentages for the top and left values.
The product container is empty, as we will be adding the HTML with JavaScript.
 {%- for block in section.blocks -%}
{% endfor %}
The JavaScript (jQuery)
First we set the products from liquid into objects and push them into an array called multi_product. Note we're combining liquid and JavaScript and we doing another for loop through the section blocks.
The value returned from the block_product is the handle of the product. We use the all_products object to get the specific product and then the specific values from there.
  var multi_products = []
    {% for block in section.blocks %}

      {% assign product_handle = block.settings.block_product %}

      var object = {}

      object.handle = "{{product_handle}}"
      object.url = "{{all_products[product_handle].url }}"
      object.price = {{ all_products[product_handle].price | money_without_currency }}
      object.title = "{{ all_products[product_handle].title }}"
      object.image = "{{ all_products[product_handle].featured_image | img_url: '800x' }}"

      multi_products.push(object)

    {% endfor %}
Here we set the product container that each product will be served into. Then we set the initial product to the first from the array above. Because we're grabbing the values from liquid, if the merchant changes the order in the admin, that will be reflected here, so the merchant has control over the first product shown.
Then we use that initial product object to set the HTML and then serve it into the product container.
var $product_container = $('#product')
var initial_product = multi_products[0]
var initial_product_html = `
`
$product_container.html(initial_product_html)
Now we add a click event on the dot. Here we're adding the event on the body as the parent because we don't necessarily have control over rendering and I wanted to ensure the event doesn't break because the dots came on the page after.
The event removes all active classes then adds it back to the current one. It grabs the handle of the product from the data attribute and then filters the multi_products array to find the current product. Then it creates the HTML and serves it into the product container.
This results in every click of a dot re-writing the product info into the product container.
$('body').on('click', '.dot', function(){
$('.dot').removeClass('active')
$(this).addClass('active')
var handle = $(this).data('handle')
var this_product = multi_products.filter((product) => {
return product.handle === handle
})[0]
var product_html = `
`
$product_container.html(product_html)
})
